LedgerPro guide · Prairie Peak example
Receipt capture: snap it, attach it, or record a cash expense
Paper receipts fade and disappear; the accounting evidence should not. This guide follows a receipt from phone capture or upload to the bank row — and shows the separate route for a purchase paid in cash.
Start from the Receipts inbox
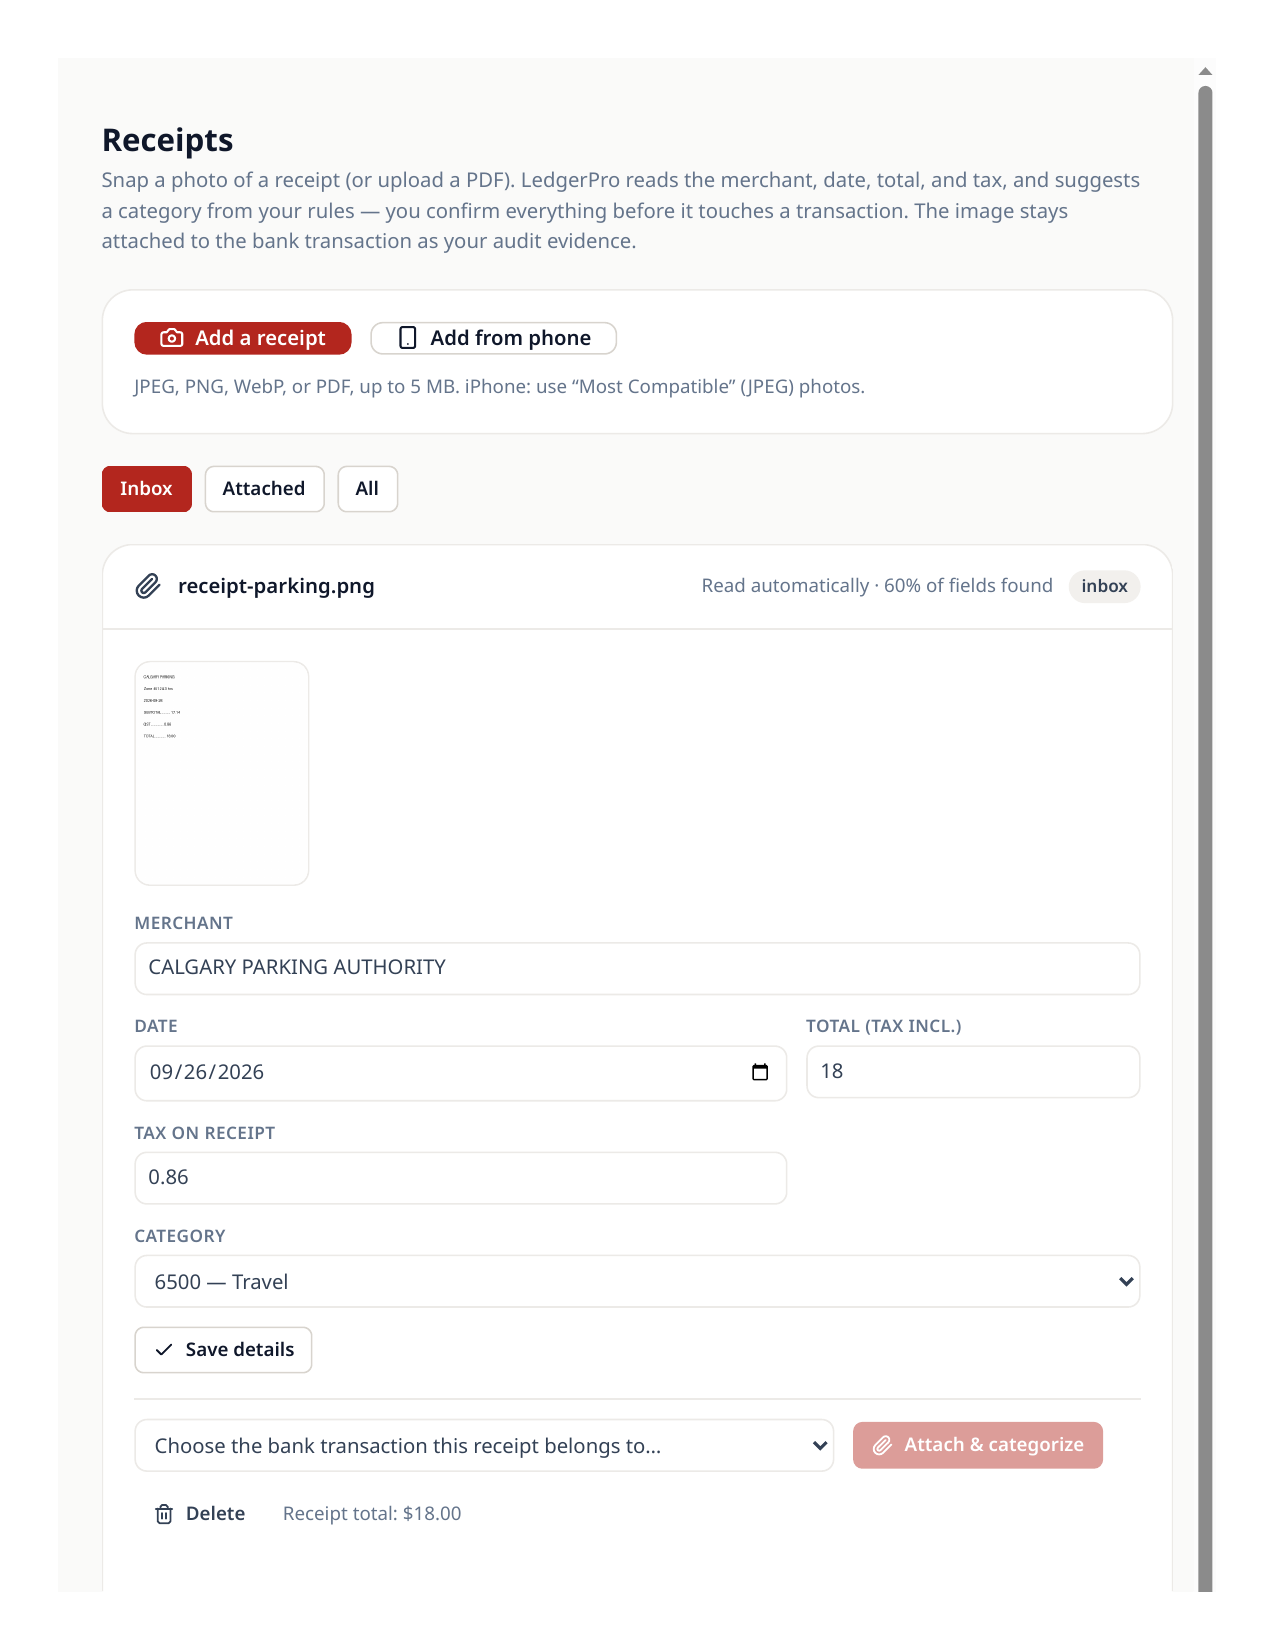
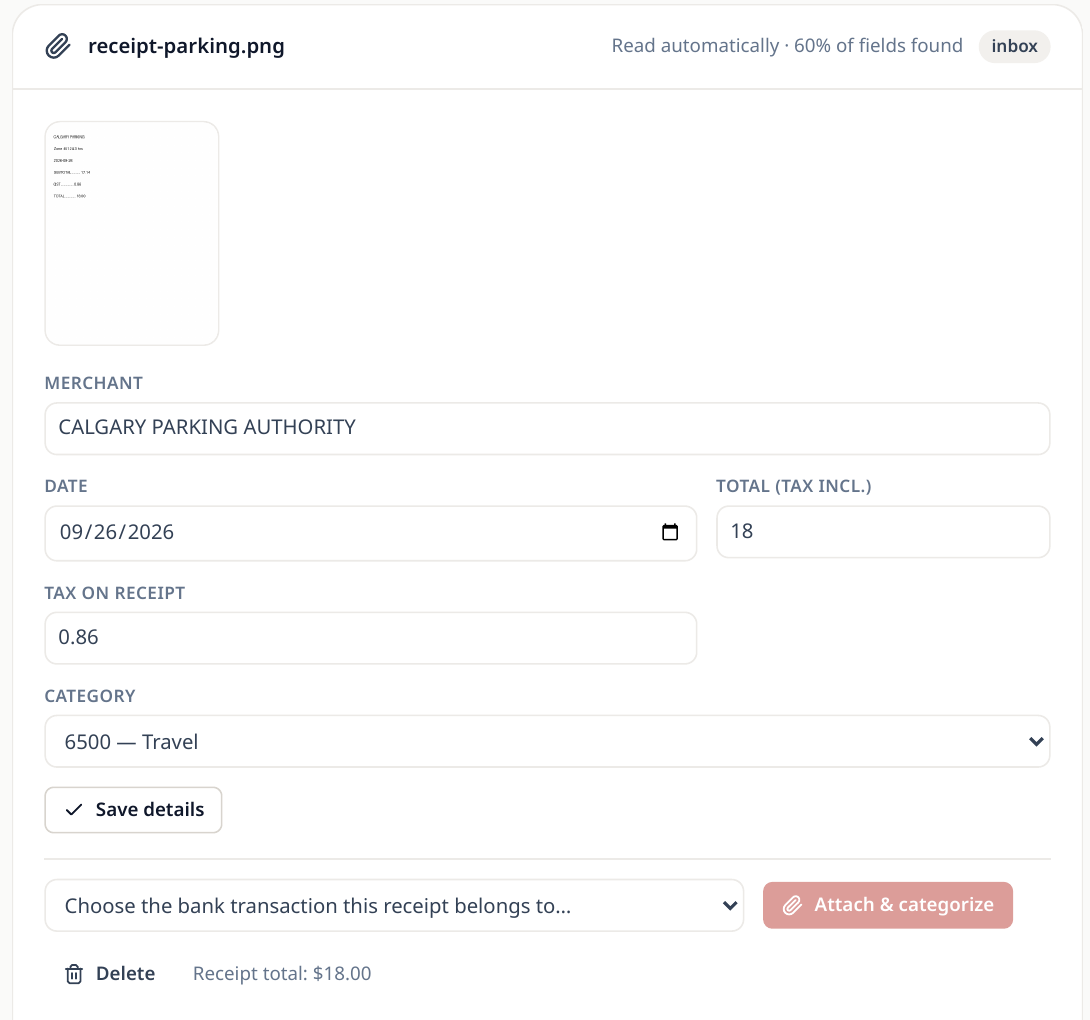
Every receipt lands in one inbox first, whether it was photographed, uploaded, or captured from a phone. Prairie Peak’s inbox holds two receipts still waiting — a Staples office-supplies receipt and a Calgary Parking receipt — while four others are already attached to their transactions.
- 1Open Receipts. Waiting receipts show what was read from them: merchant, date, and total.
- 2Check the read fields against the paper. Correct anything misread before you rely on it.
- 3A receipt by itself changes nothing in the books — it is evidence plus parsed data, waiting to be attached or turned into an expense.
Add from phone — no login on the phone
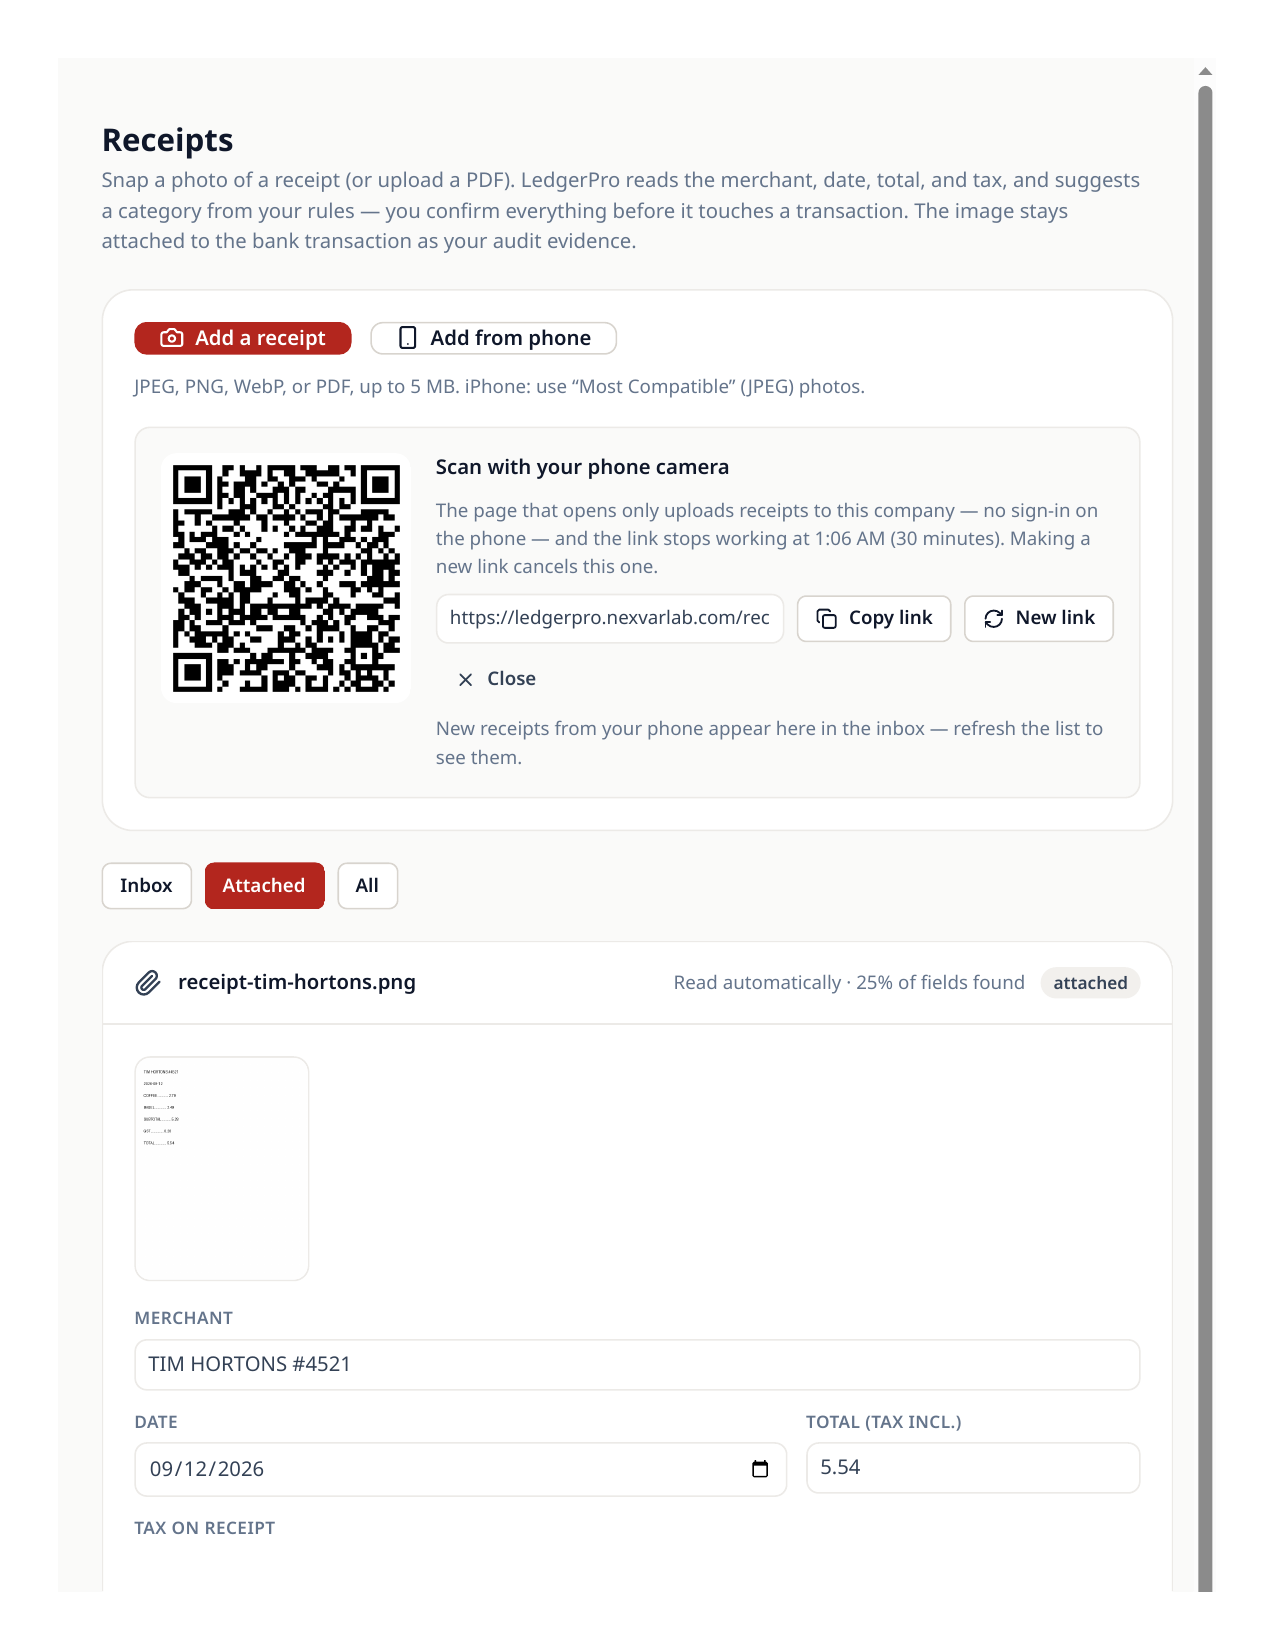
Paper shows up on site, not at your desk. Add from phone opens a one-time link as a QR code: anyone you hand it to can photograph receipts straight into this company’s inbox without a LedgerPro login. The link expires in 30 minutes, and minting a new one retires the old.
- 1In Receipts, choose Add from phone and scan the QR code with the phone’s camera (or copy the link).
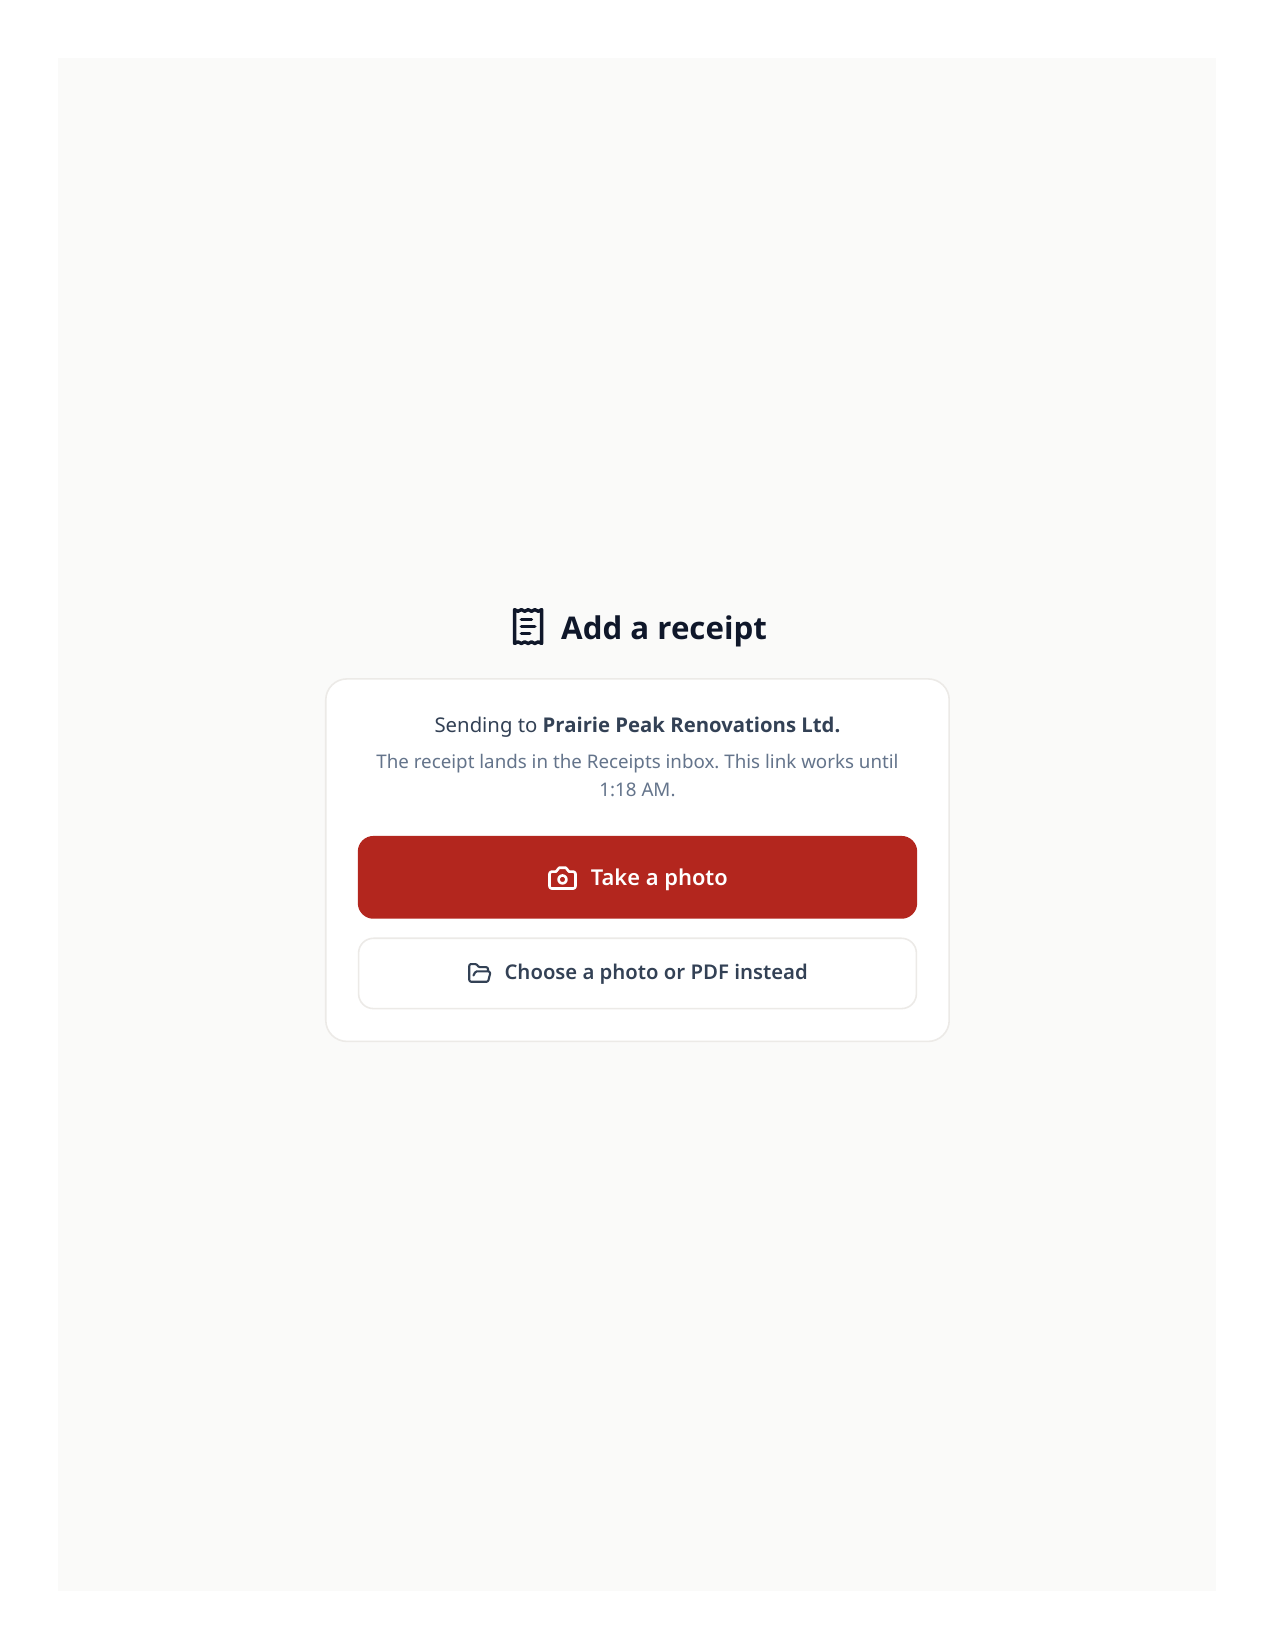
- 2The phone opens a simple capture page — no login, no app. Photograph the receipt; the phone converts the photo and reads the text before sending.
- 3Back at your desk, the receipt is waiting in the inbox with its fields already read.
Good to know
- iPhone photos are converted to JPEG by the capture page itself, so HEIC is not a problem on this path.
Attach a receipt to its bank row
- 1Open the waiting receipt and choose the bank transaction it belongs to — the Home Depot receipt belongs to the $486.20 Visa row.
- 2Choose Attach & categorize. The receipt pre-fills the row’s category and GST split from what it read.
- 3Post the row from Banking when ready. The image stays attached as the audit evidence behind the journal entry.
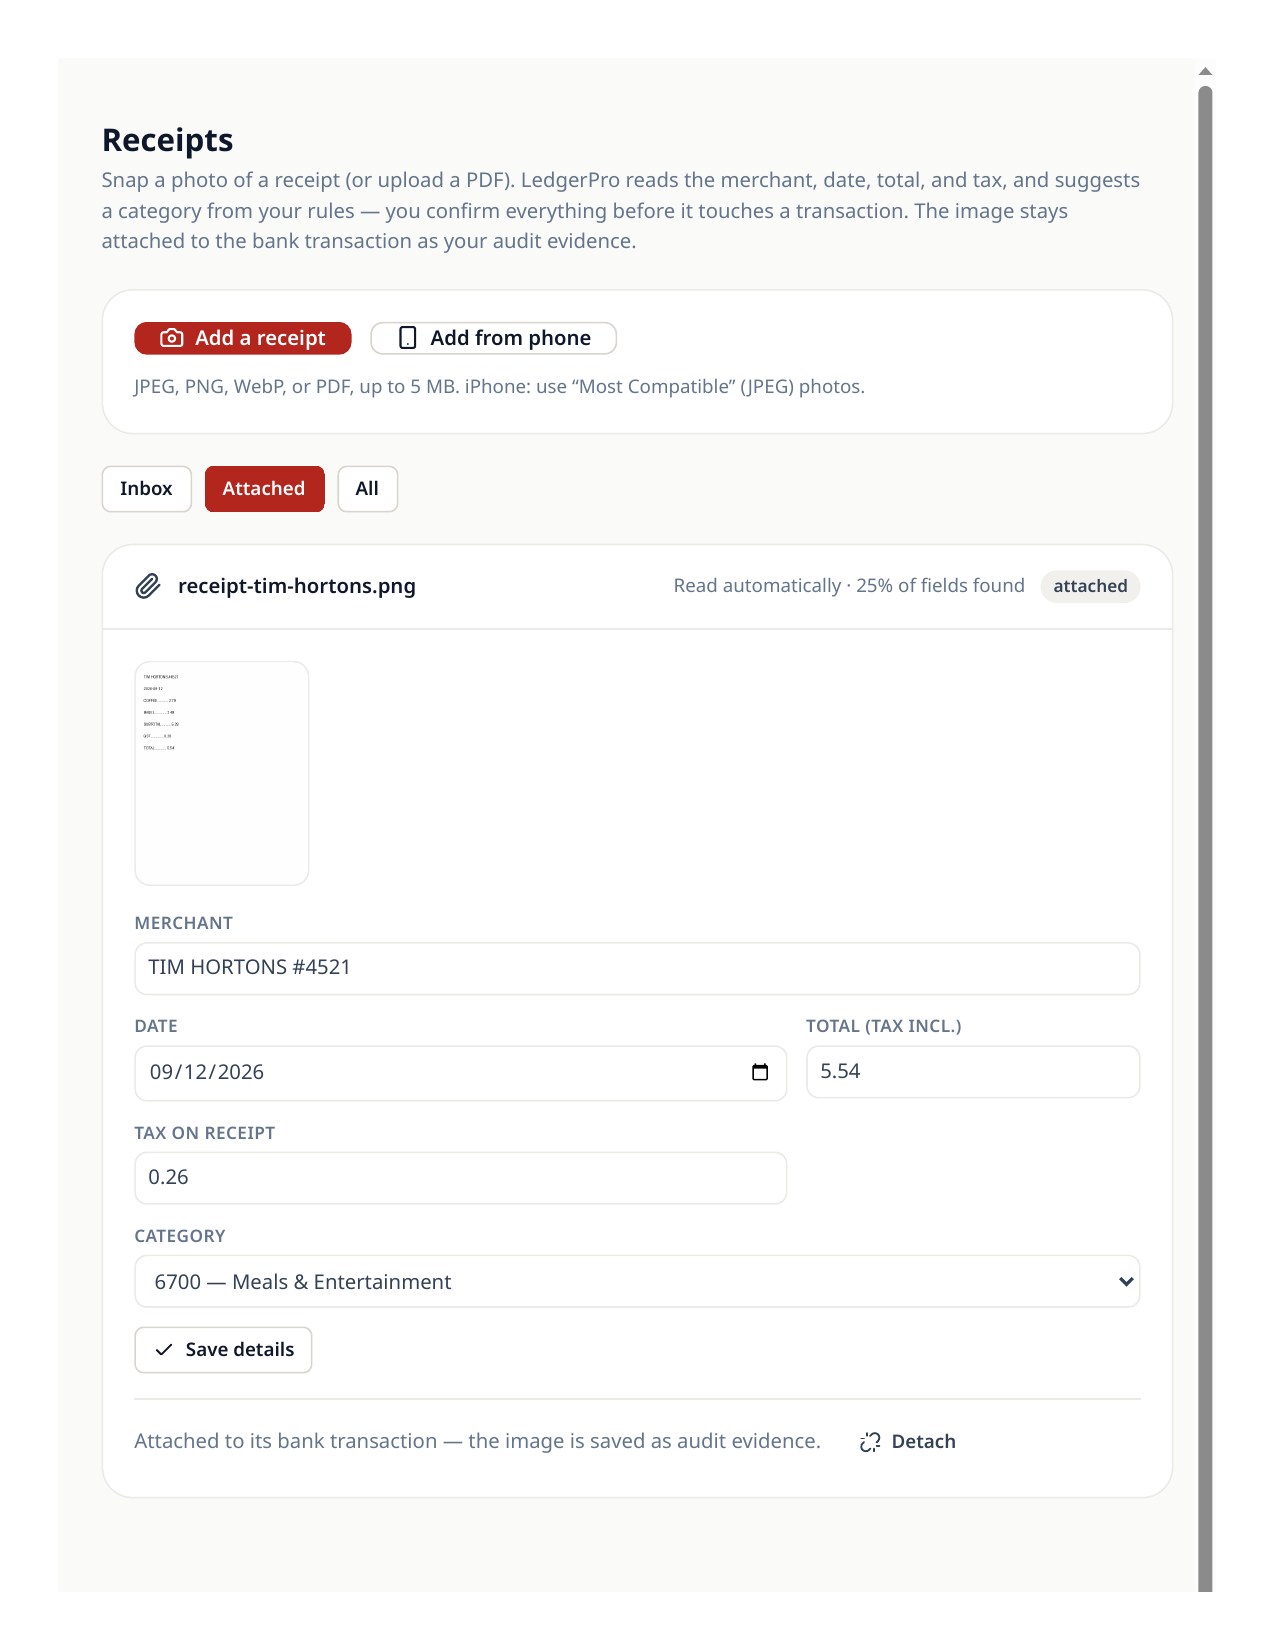
Paid cash? There is no bank row — book the expense directly
The Tim Hortons receipt ($5.54, coffee for the crew) was paid from petty cash, so no bank transaction will ever arrive to attach it to. Receipts handles that case directly.
- 1Open the receipt and choose the “no bank transaction for this one” path.
- 2Pick the account it was paid from — Prairie Peak uses its Cash account (Petty Cash, 1040).
- 3Create the expense. LedgerPro builds the entry from the receipt: debit the expense $5.28, debit GST credits $0.26, credit Cash $5.54 — review it, then post.
Try the workflow
Put your own books through the same steps
Start a LedgerPro trial, or open this workflow in your existing company. The guide stays available as a public reference either way.